


Another thing that's really fun about the Bandai kits, is that they're from Japan. And guess what?.....
Yep, instructions are in Japanese. Fortunately, all you really need are the photos to see what to do.

So for starters I'm going to work on the interior of the AT-ST. That'll be the most difficult to paint and finish based on detail and size.


This kit fits together very nicely and tight without any glue, thought I will be ultimately using glue. At this point, I'm looking to see if I can do lighting in this kit, and it's just so small and such little room, I just don't think I can do it. Areas to run the fiber and to place LED's and such just seems a little unlikely.


So I'll start off by priming the pieces.

And on to various areas that I can do with airbrushing.


Nice and clean paint job with the airbrush.


So I'll now start off with detailing of the back wall. Doing some black wash into recessed areas and all.


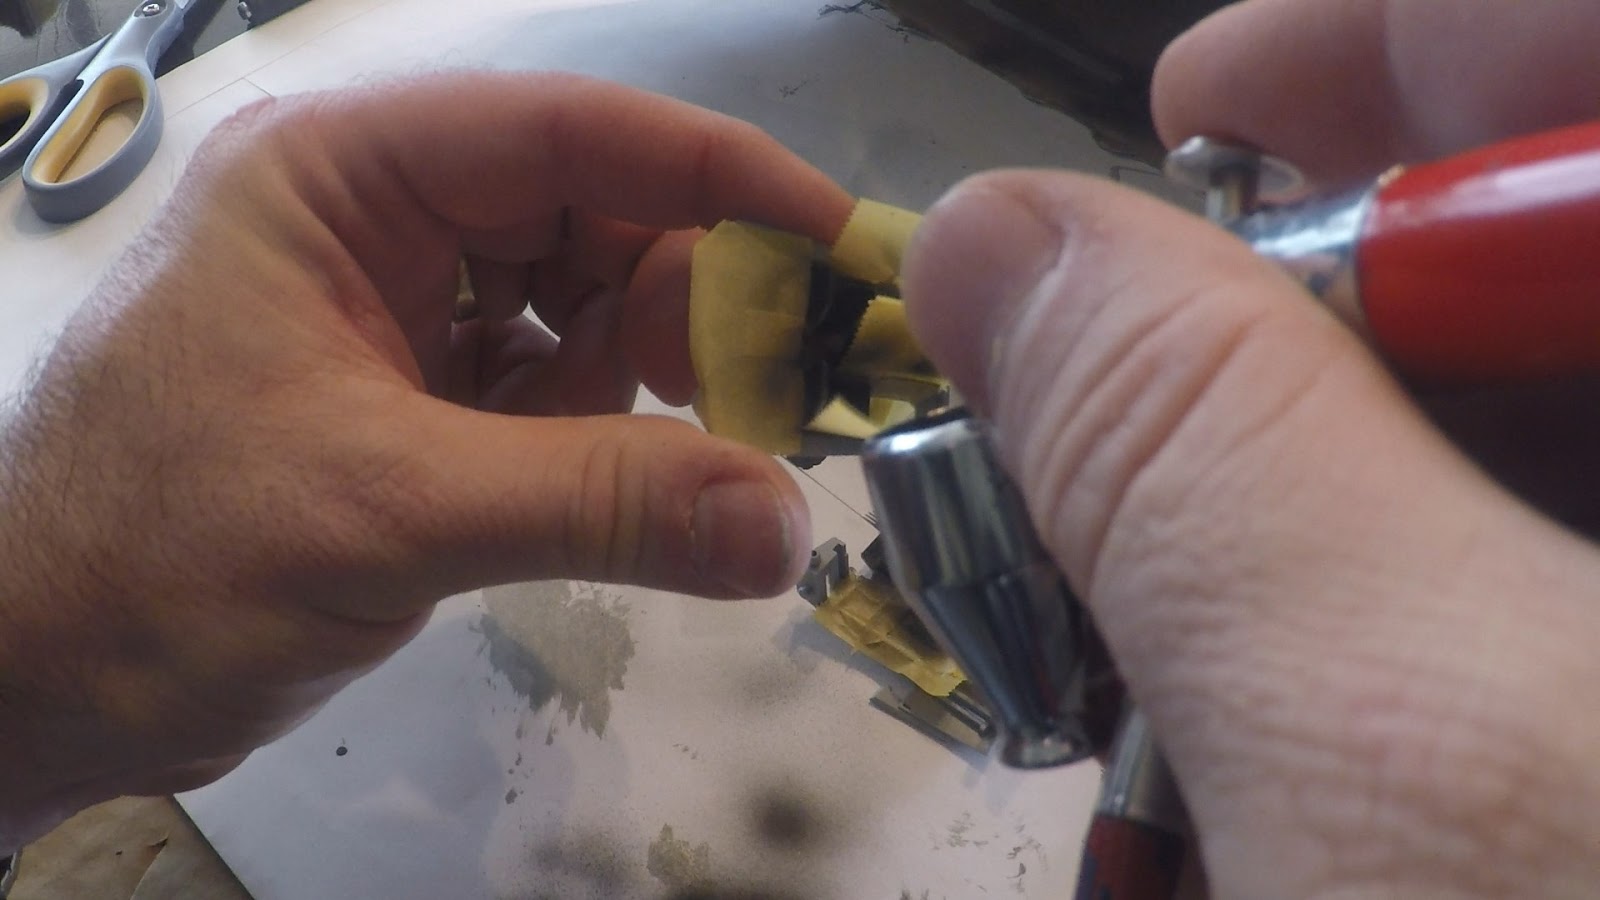
So the back area of the wall has 6 monitors, all of which are extremely small. In the film, they display green and yellow graphs. There's just NO WAY to paint that small. So what I've done is take screen grabs of the movie and cut out the monitors. I then pulled them in to Photoshop and brightened them up and printed them out the right size for my model. So here I'm cutting out a screen to test.


Here is the scale I'm working with for these screens I've printed.


And here we have my printed screens in place.

And some more paint detailing...

And we have a finished back wall of the AT-ST

I also just did some detail paint of the seats and joysticks for operation. I then used some pastels to weather it and make it dirty and put the back wall on the seat piece to check it out.


Looking good. Now onto painting and detailing the side pieces.


Completed left side...


And complete right side....


Time for some painting of the pilots. Started out with priming

Then the black boots and gloves.


I then mixed a greenish gray color for the helmets and straps. And then detailed.

And here we have the completed pilots

And the completed pilots in the cockpit.


So there you have the interior of the AT-ST. Next I'm on to building the body.
Stay tuned. MUCH MORE TO COME
I'm working on this kit right now and your blog and videos are a perfect reference.
ReplyDeleteOne question: would you be able to email me the document with the screen grabs of the monitors or would I get just as good resolution using the images in the blog? (if that is ok)
Cheers,
Jim
Email me at modelsbychris@gmail.com
DeleteI'm working on this kit right now and your blog and videos are a perfect reference.
ReplyDeleteOne question: would you be able to email me the document with the screen grabs of the monitors or would I get just as good resolution using the images in the blog? (if that is ok). I wrote to your mail yesterday.
Cheers,
Javi
I'm working on this kit right now and your blog and videos are a perfect reference.
ReplyDeleteOne question: would you be able to email me the document with the screen grabs of the monitors or would I get just as good resolution using the images in the blog? (if that is ok)
Cheers,
Javi